FALL FLOWERS: EASY ARRANGEMENTS WITH PUMPKINS AND GOURDS

Fall decorating supplies are expensive so I make my own decorations to keep the cost low. Head to the farmer's market to find everything you will need for a fall party or Thanksgiving holiday decorations. Pumpkins and gourds of all shapes, sizes and colors are everywhere and it seems each year there are wildly varied new species just waiting to be made into a beautiful or scary decoration.

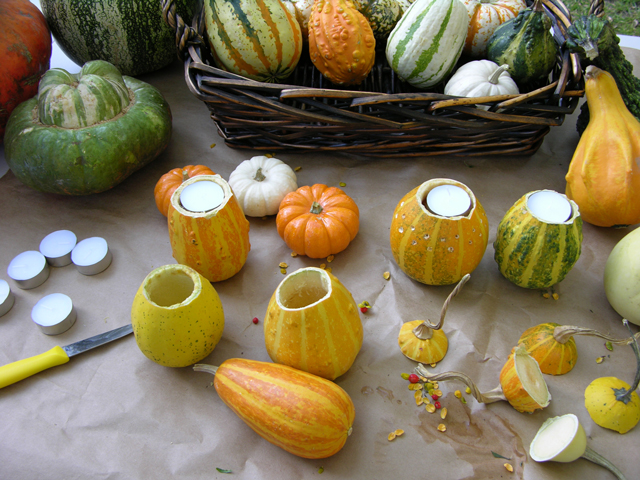
The colors are so vibrant--- and the yellows, oranges, rich reds, dark coppers and browns just say fall, don't you think? I brought home our haul and started hollowing out gourds. The large gourds are perfect for vases and the small gourds are ideal containers for votives and tea lights. You can use them two ways as shown below.
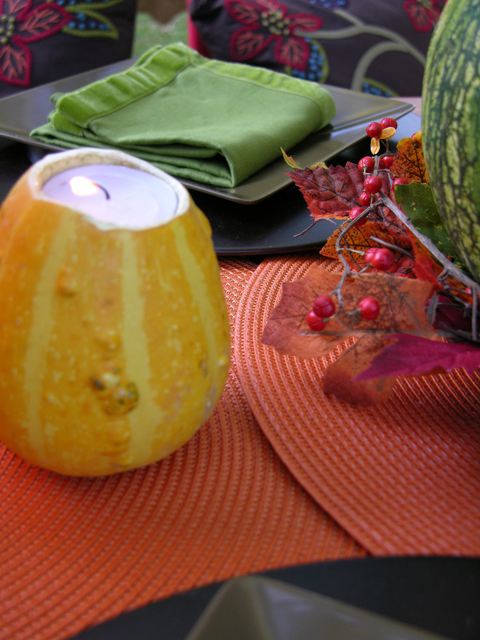
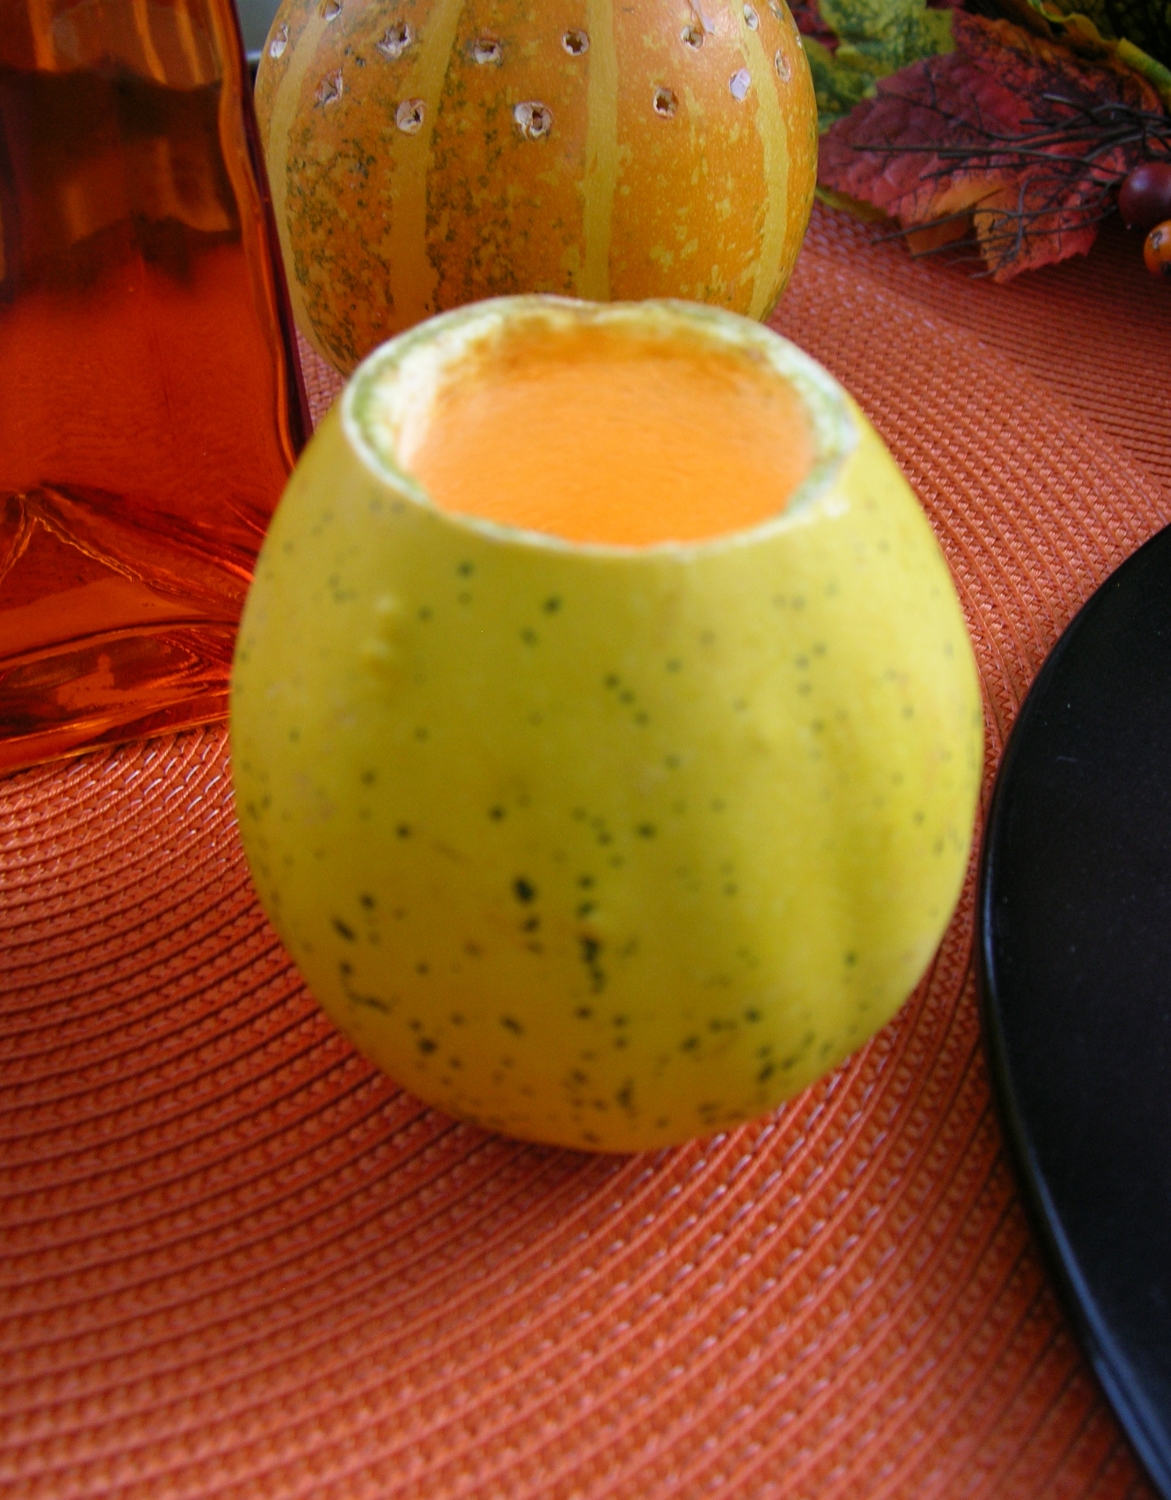
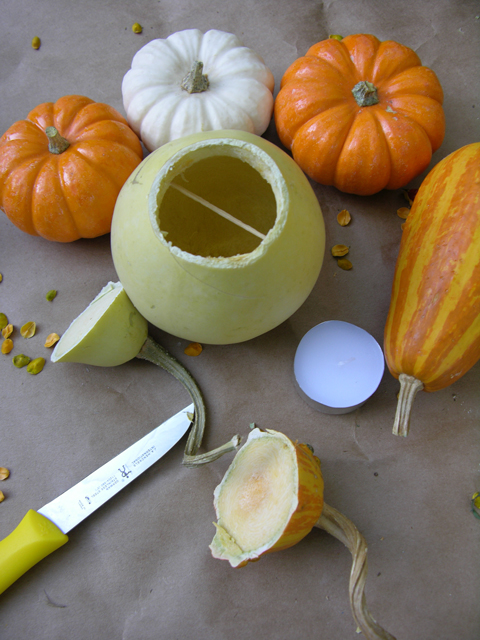
To make the candle holder: Use a paring knife to cut the top off of the gourd then scoop out the inside. You can put the tea light into the bottom of the gourd, which accomplishes two things. It keeps the wind from blowing out the flame and it results in a softer glow. You can also fit the tea light into the top of the gourd. Use a crossed toothpick inside the gourd to keep the candle from falling inside like I did in the picture below.
For flower arrangements: I was lucky enough to find a farmer selling bittersweet. I love bittersweet-- these yellow and orange berrylike branches. They are perfect for centerpieces and look great in the yard as an accent to mums and other fall flowers. These are a mix of flowers from the yard and a few I picked up at the florist.
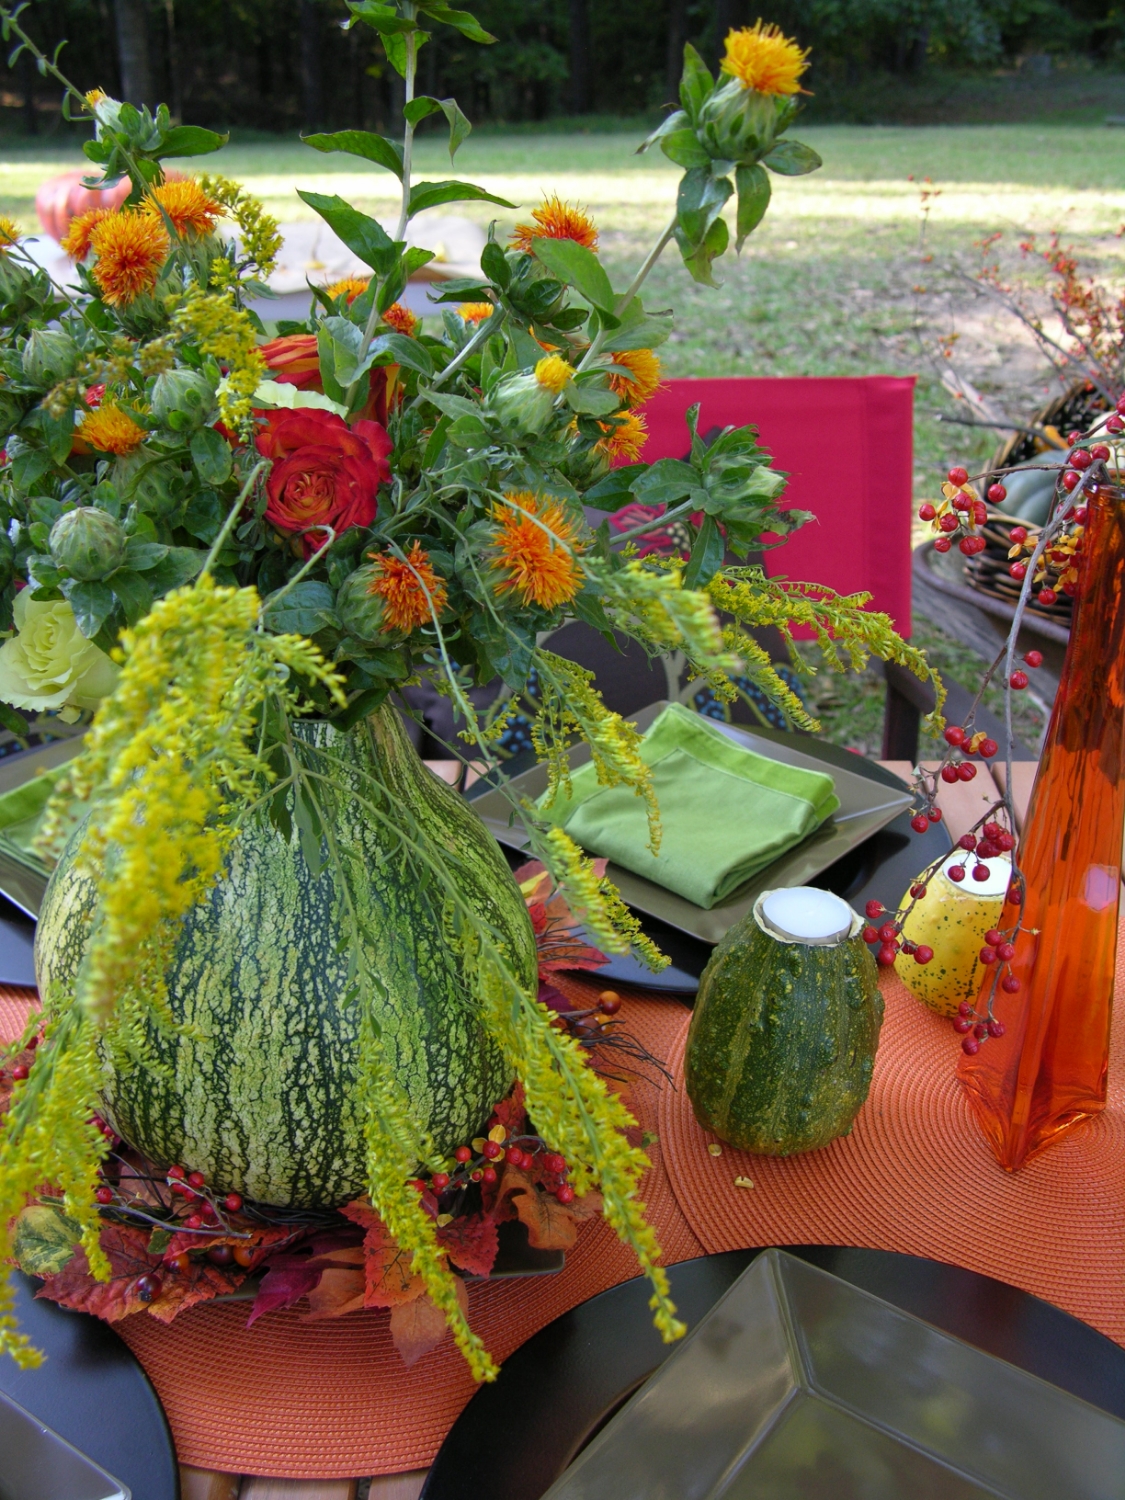
Some gourds may leak so I filled a plastic zip-top bag with cool water, cut the flower stems on an angle and put them inside. Wrap below the sight line with a rubber band to keep it secure and put the arrangement inside the gourd.

You may try using Vaseline petroleum jelly on the outside of the pumpkin or gourd to slow deterioration. Just rub a bit on a cloth and polish the outside of the gourd. You can also do this on the inside of your pumpkin after you hollow it out to retard deterioration.

DIY CRAFTS: HOST A CENTERPIECE PARTY

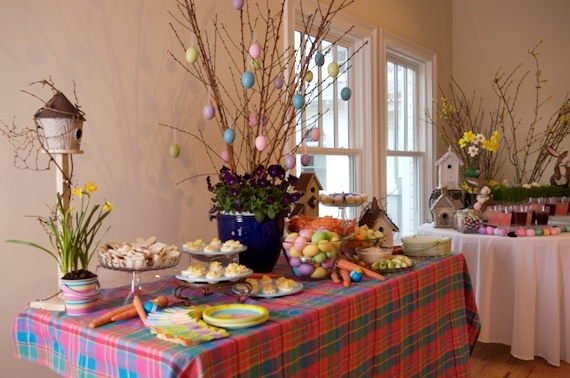
With Easter just days away, I've got a fun (and productive) party idea for a Girls Night In get-together. Why not host a DIY centerpiece party? Each year, a few weeks before Easter, I get lots of emails and questions about Easter decorations and tablesettings. Here's a party theme that will not only allow you to spend time with your friends, you can go home with a beautiful centerpiece... just in time for your Easter Sunday celebration. It's also a great party plan for that DIY bride or class reunion, too!

Get the girls together for a perfectly creative way to craft your own Easter centerpieces, party decorations for a class reunion, wedding or baby shower or even for that DIY bride.

Get the girls together for a perfectly creative way to craft your own Easter centerpieces, party decorations for a class reunion, wedding or baby shower or even for that DIY bride.

THE SET UP

This is a very simple party to host. You provides the drinks, the food, and a large workspace with plenty of room. Guests will bring what they need for her own centerpiece plus tools like floral wire, floral sheers, ribbon, etc. You can all share supplies. Ask guests to email a list of what they are bringing- you may need to make a trip to Michael's, Hobby Lobby or a local floral supply store to pick up the basics if you don't have them. NOTE: If you are planning this party for the week of Easter, you might also set up a station to dye Easter eggs. That way, you can have eggs already dyed for the kids to decorate.

Pick up plants and flowers from the garden center to create an Easter centerpiece you can plant and enjoy all summer.

Pick up plants and flowers from the garden center to create an Easter centerpiece you can plant and enjoy all summer.

In the Spring, I always like to use herbs or flowers from the garden center for my centerpieces... that way, after the party is over, I can plant them in the yard and enjoy them all summer long. I picked up a few bunches of tulips at the store, too. I got a twig wreath and some bird nests at the craft store and found floral foam, wire and twine there also. If you want a rustic look, use Mason jars in several sizes. If you are using metal containers, they tend to leak. To avoid this, fit a small jar or plastic container into the bottom and fill that with water. 

Cover your work space with a plastic backed drop cloth from the home improvement store or use brown craft paper... I used did both to make clean up easy. It is important to use layers of newspaper if you will be dying eggs; they make a mess and the stain is virtually impossible to remove.

Easter craft projects how to

FOOD & DRINKS

Girls Night is soooo about the cocktails and quality time catching up with friends but since this party is centered around an activity, I wanted to keep the menu very simple.

A cheese board with 3-4 cheeses plus crackers, fruit, honey, jam and other pairings is the perfect way to start the party. It is easy to assemble and there's no cooking required. Make one of your party favorites that is easy to eat standing up or while working. I made Puffy Party Squares because they are easy, fast and inexpensive but also because everyone loves them. You can also do some lovely egg salad sandwiches because you'll have a ton of eggs on hand.

Easter egg dying ideas
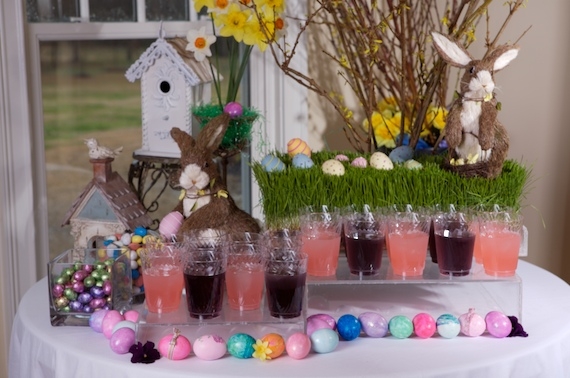
Pretty, colorful drinks and easy food make hosting duties simple!

Pretty, colorful drinks and easy food make hosting duties simple!

toasted egg salad sandwiches using hard boiled Easter eggs

THE ACTIVITY

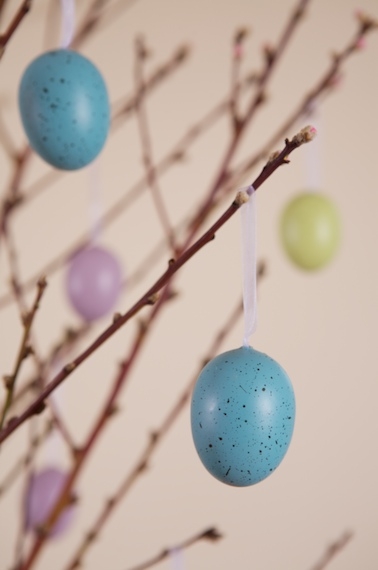
Making centerpieces and decorating eggs can be as easy or as complex as your time and patience allow. If you look at Pinterest, you can see a million different ideas for every taste and every budget. I love the look of speckled eggs. Get the how to here... I'm a big fan of cheap that looks expensive so that's what I was aiming for with my flower arrangement. I also like the idea of repurposing the flowers in the garden or container after the party is over.

ideas for Easter centerpieces
egg cups hold pretty wildflowers from the yard

My own style is very relaxed and easy so my centerpieces tend to be rustic and take about 6 minutes to create. When making a centerpiece for a dinner table, I want it to be low so guests can see each other across the table. Here's what I came up with using annuals and one bunch of tulips. After Easter is over, I'll plant the annuals in containers to brighten up my deck this summer. 

Carefully wrap the root ball in plastic and keep the roots damp so you can plant and enjoy long after the party is over.

Carefully wrap the root ball in plastic and keep the roots damp so you can plant and enjoy long after the party is over.

Carefully remove the annuals from their plastic container, keeping the root ball intact. Put it into a plastic bag and secure with a rubber band. Use one plastic sandwich bag for each plant. Make sure the soil is damp- but not too wet. Arrange the flowers in a platter, basket, wreath or other short container. Add some fresh cut flowers also for a little height. Done!

This could even be a wonderful family get-together with the cousins or a fun annual neighborhood party. The adults can make flower arrangements and the kids can decorate eggs at a craft station set up with stickers, glitter, glue and other supplies.

Print Friendly and PDF

HOW TO FORCE SPRING BLOOMS INDOORS

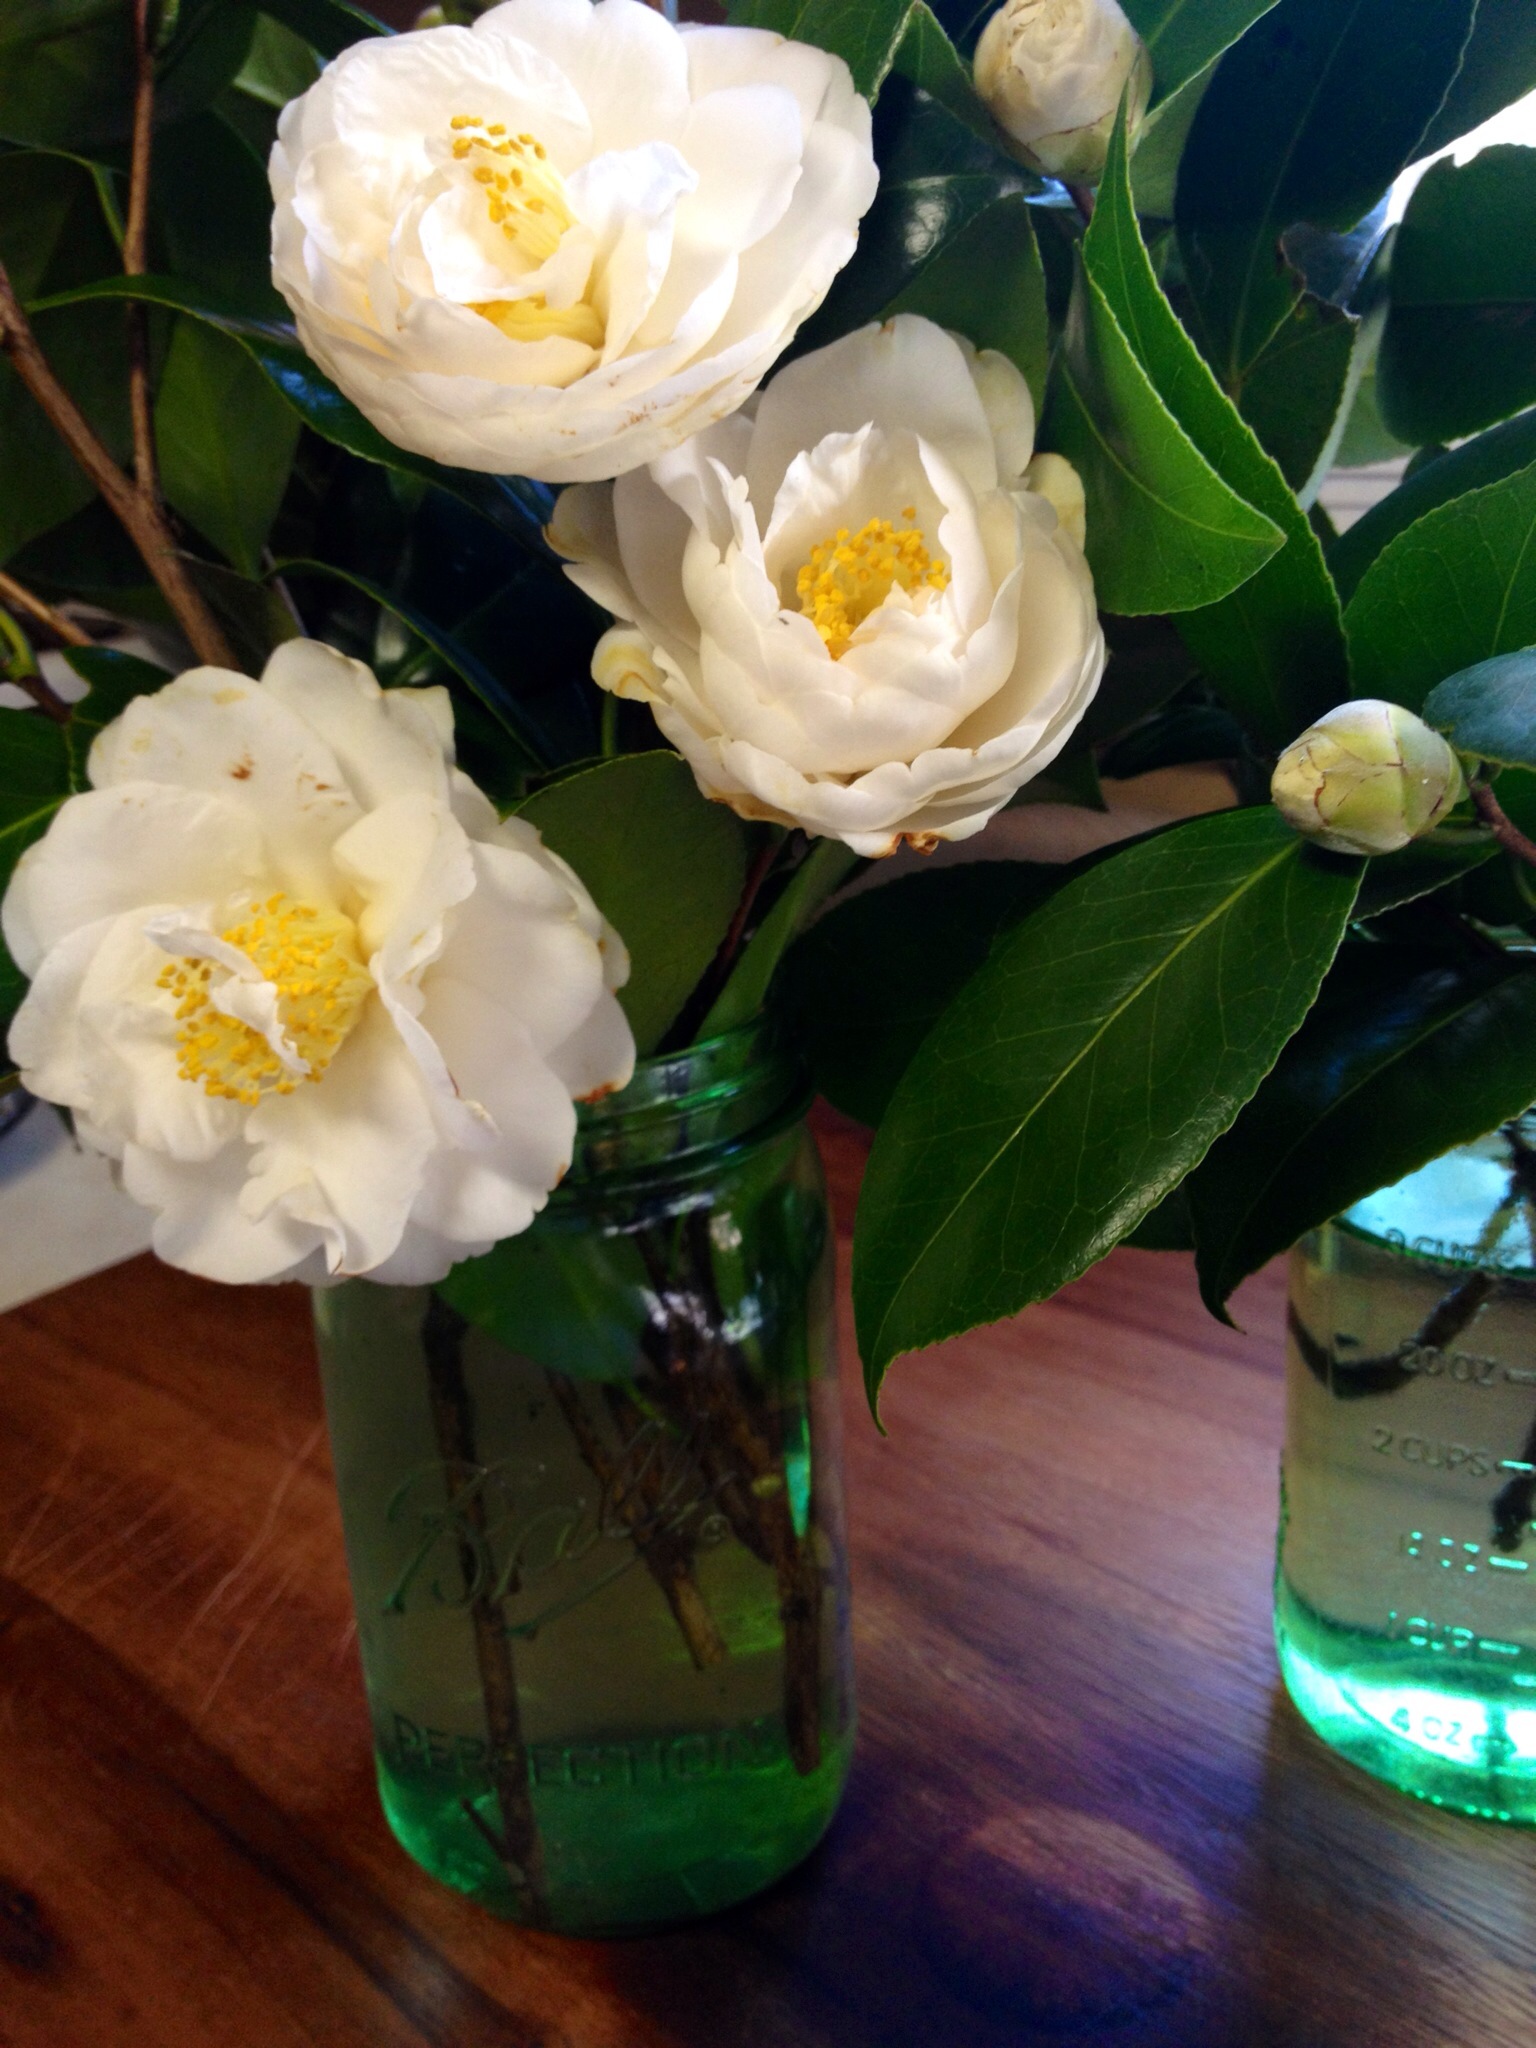
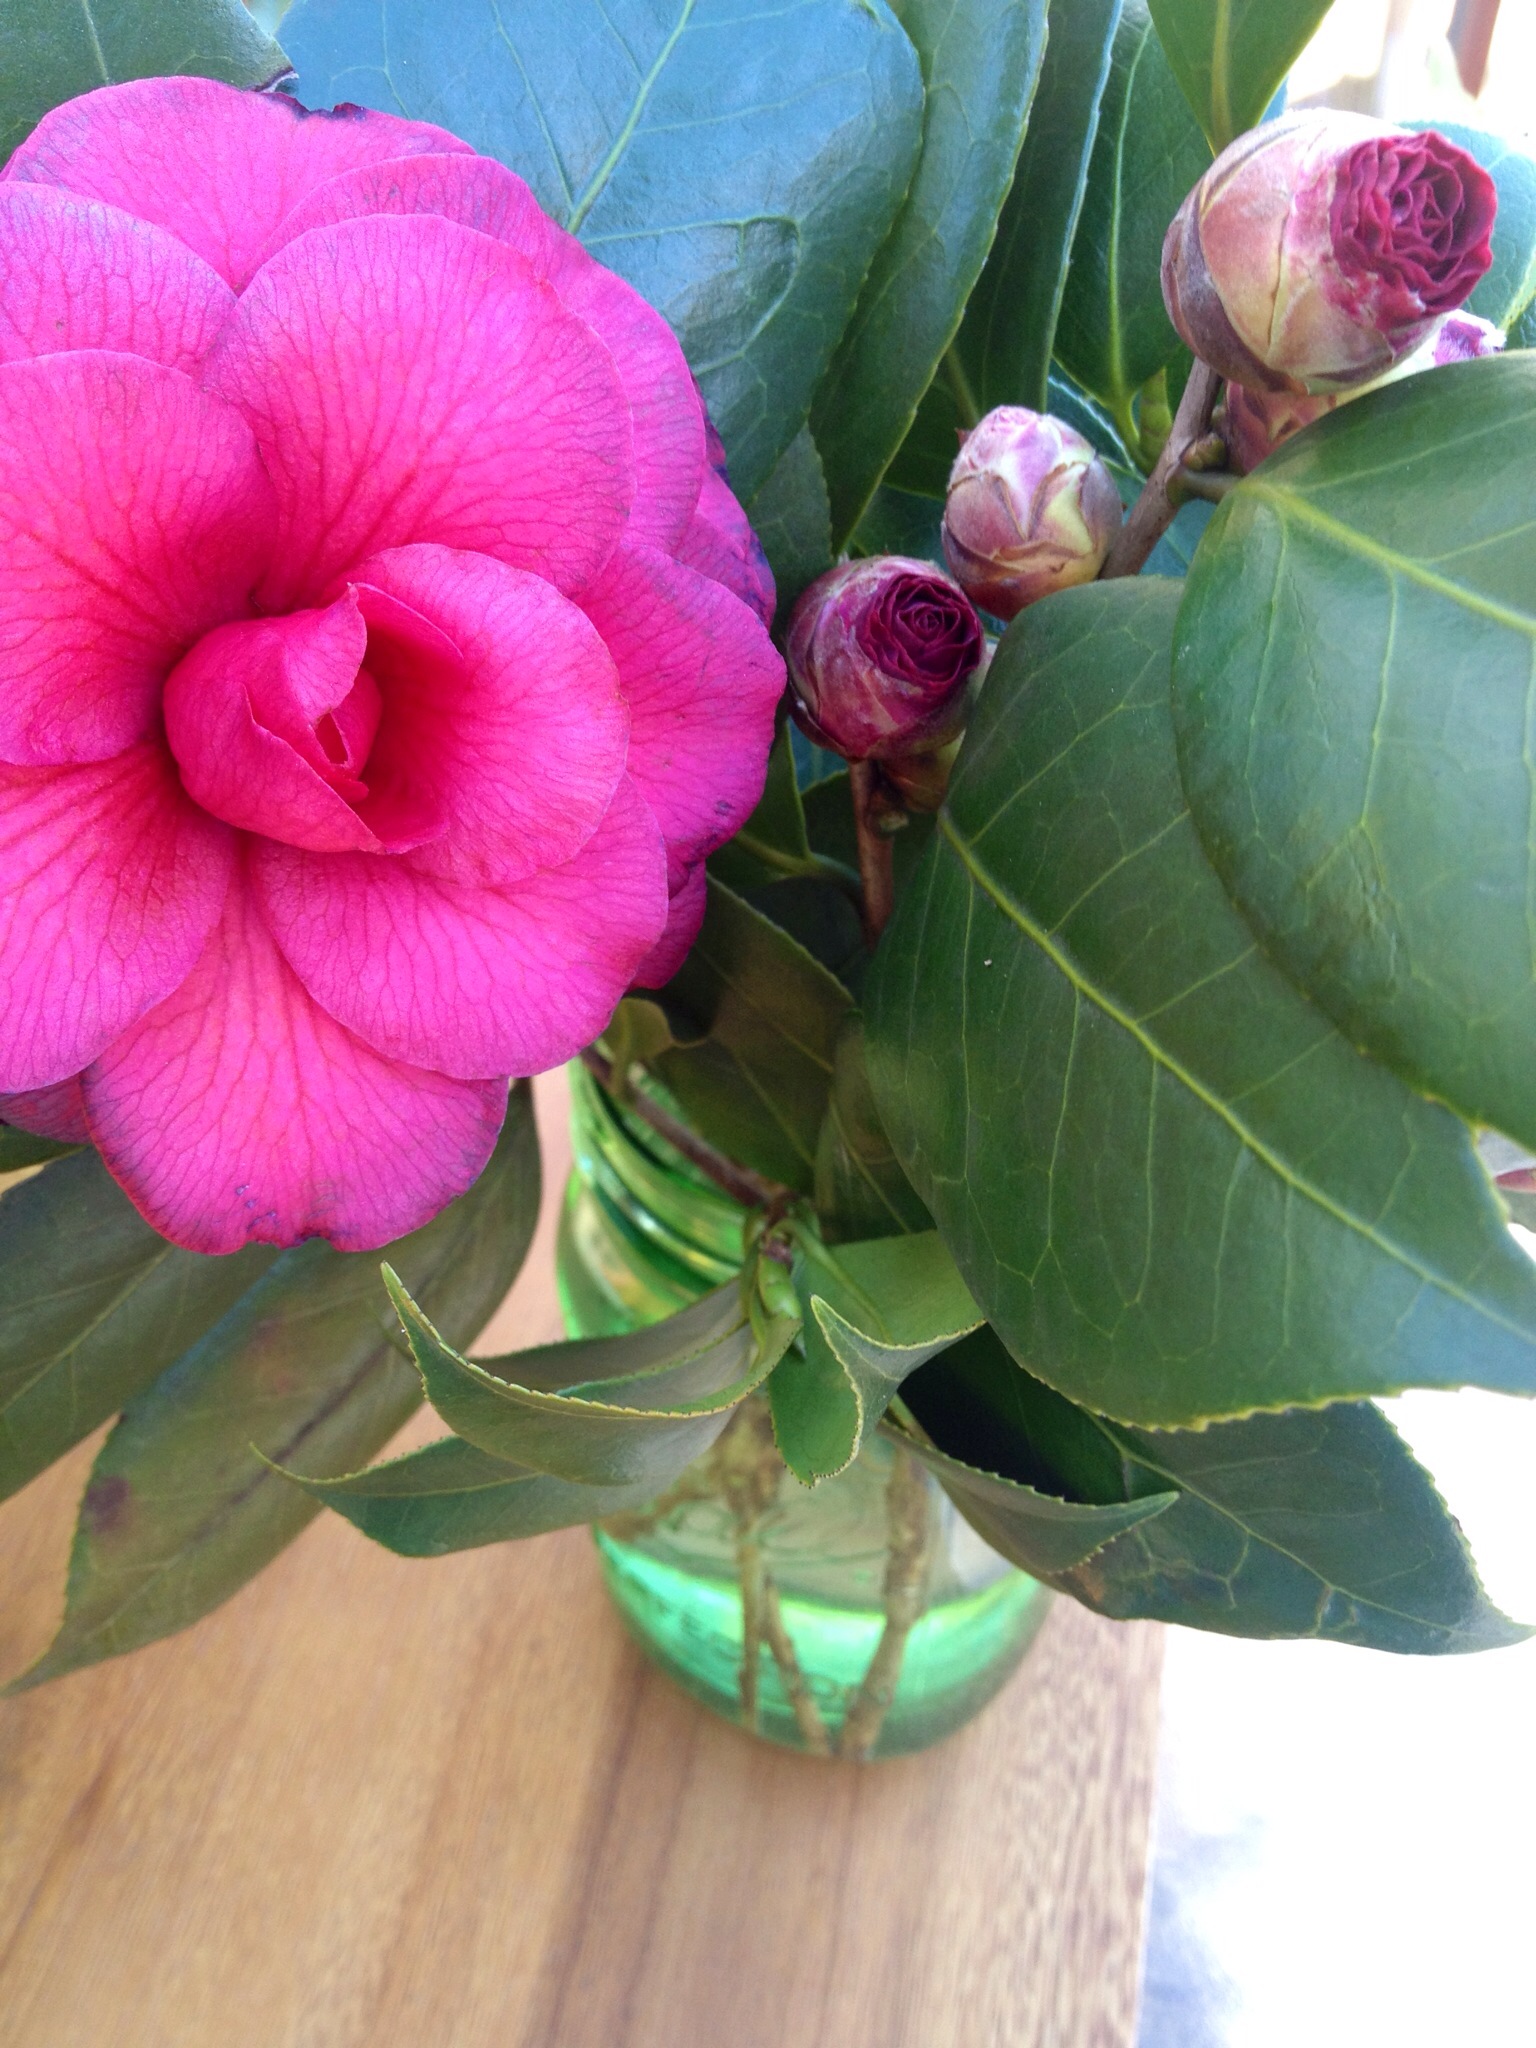
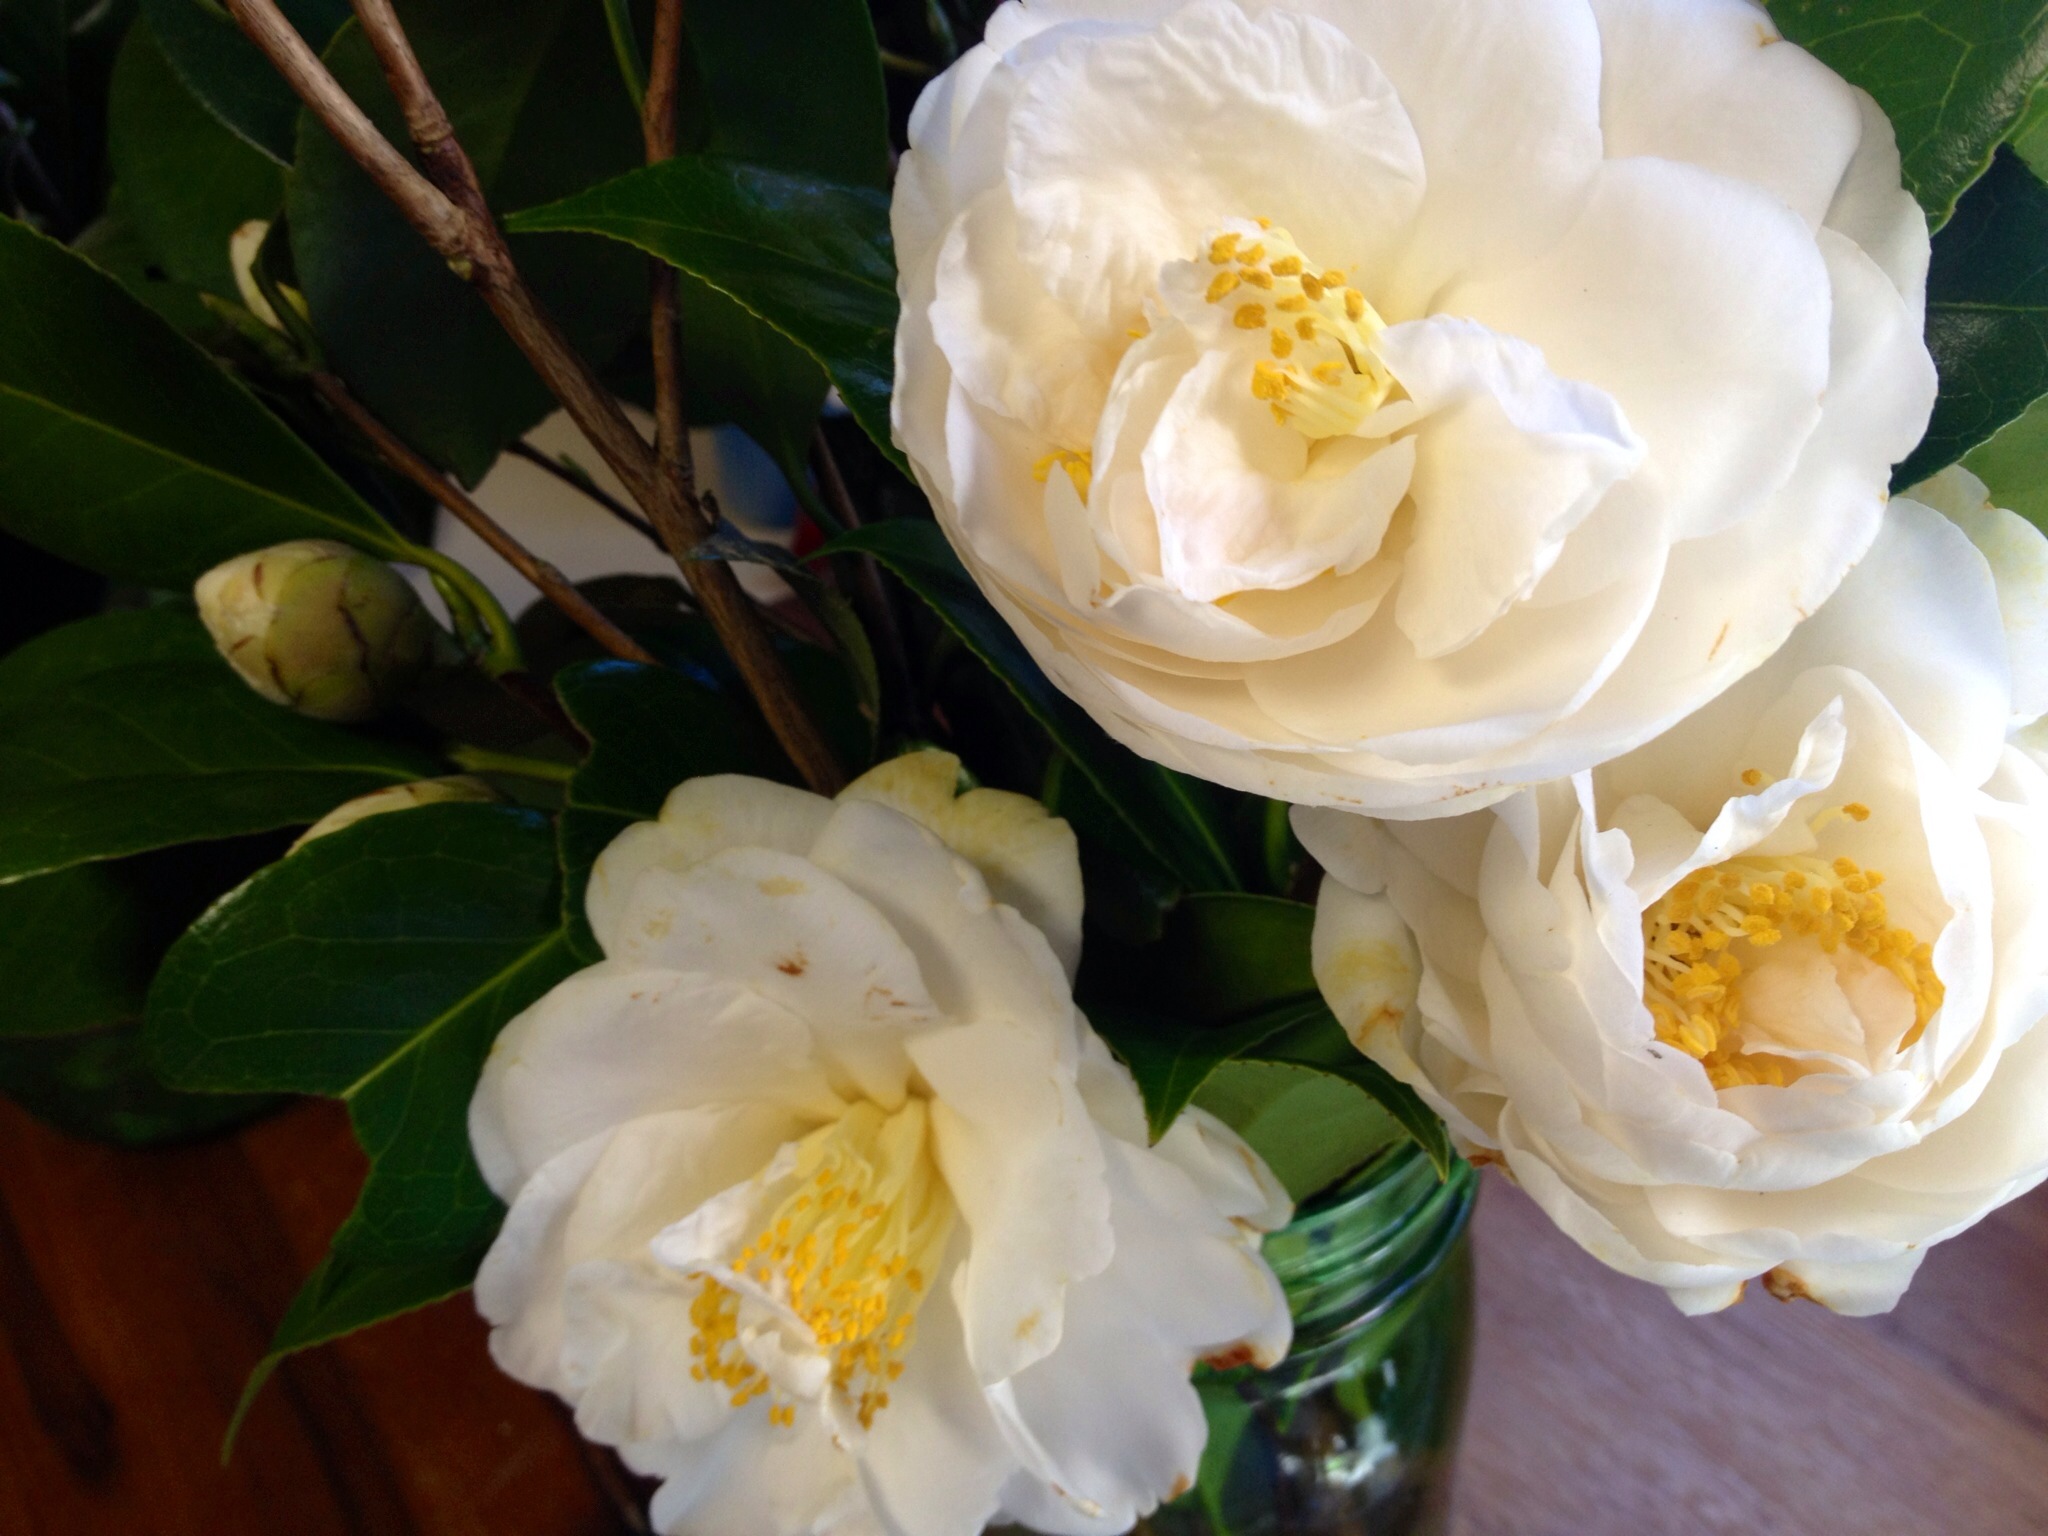
In the South, we are fortunate to have fairly mild winter weather. However, sometimes Mother Nature will warm things up enough for our flowering bushes, trees, and shrubs to think it is Spring so they begin to produce young buds that cannot survive a bitter cold snap. Some of these buds will bloom and can be enjoyed indoors if you bring them in prior to the shock of the freezing temperatures. I did that yesterday with some lovely Camellia buds from my yard. I simply cut the stem and then immediately submerged it in warm water. One day later, I have blooms!

Forced blooms are very easy to do and so pretty for an early Spring or Easter arrangement. Look at these images below... looks like Spring is just about to burst out! I should have started these a bit earlier so they would be in full bloom for the party. If you are a day out and your branches have not yet bloomed fully, simply re-cut and submerge them in very warm water. That should help.

You can force blooms from your flowering shrubs like Forsythia or Hawthorne that already have budding branches to help Mother Nature along and bring a bit of early spring to your table. I Here's how:

HOW TO FORCE BLOOMS FROM FLOWERING SHRUB OR TREE BRANCHES

Supply List:

Sharp pruning shears or scissors

A large bucket

Warm water

Household bleach, like Clorox

Cut flower food

STEP 1: Prepare the bucket by filling with extremely warm water. Add 1 teaspoon household bleach and 1 tablespoon cut flower food to the water.

STEP 2: Cut and gather branches from trees, shrubs, or bushes where you can see blooms beginning to form. I always make notes in my garden journal on bloom dates so I know approximately when blooms will happen for different trees and plants. You can also look up anticipated bloom dates for different species online via your state or local agriculture association or flower clubs. Cut 12-18" lengths of branches for a stately and elegant arrangement.

STEP 3: Prepare the branches by making a fresh cut in the stem. The old school way is to crush the base of the stem to allow the plant to absorb water but I find a fresh cut with a very sharp knife or pruning shears will do the trick.

STEP 4: Immediately submerge the cut branch into the prepared water in the bucket.

STEP 5: Place the bucket with the branches in a cool room away from direct sunlight. Depending on how long it takes for the buds to open, you may need to re-cut the stems and change out the water. Once blooms begin to appear, you certainly want to use fresh water and re-cut the stems before making your arrangement. Lightly mist the blooms every other day.