FALL FLOWERS: EASY ARRANGEMENTS WITH PUMPKINS AND GOURDS

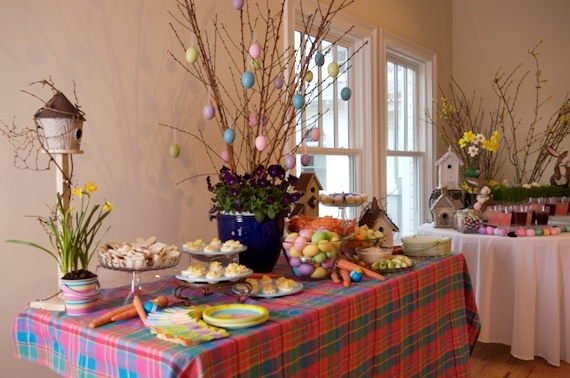
Fall decorating supplies are expensive so I make my own decorations to keep the cost low. Head to the farmer's market to find everything you will need for a fall party or Thanksgiving holiday decorations. Pumpkins and gourds of all shapes, sizes and colors are everywhere and it seems each year there are wildly varied new species just waiting to be made into a beautiful or scary decoration.

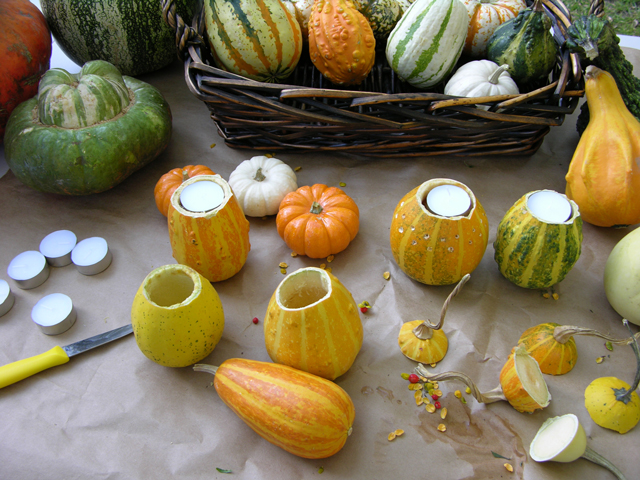
The colors are so vibrant--- and the yellows, oranges, rich reds, dark coppers and browns just say fall, don't you think? I brought home our haul and started hollowing out gourds. The large gourds are perfect for vases and the small gourds are ideal containers for votives and tea lights. You can use them two ways as shown below.

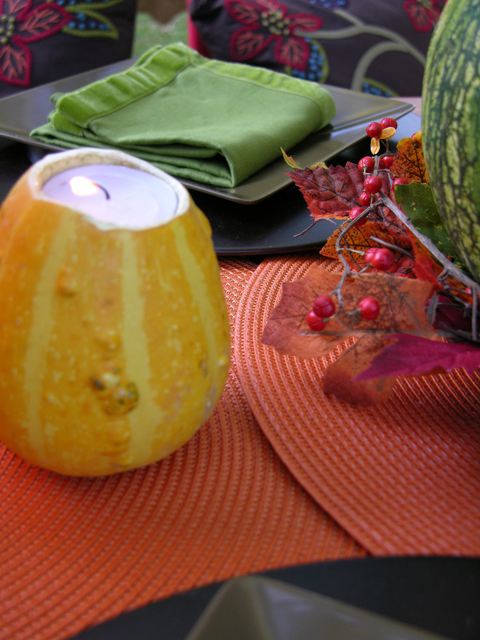
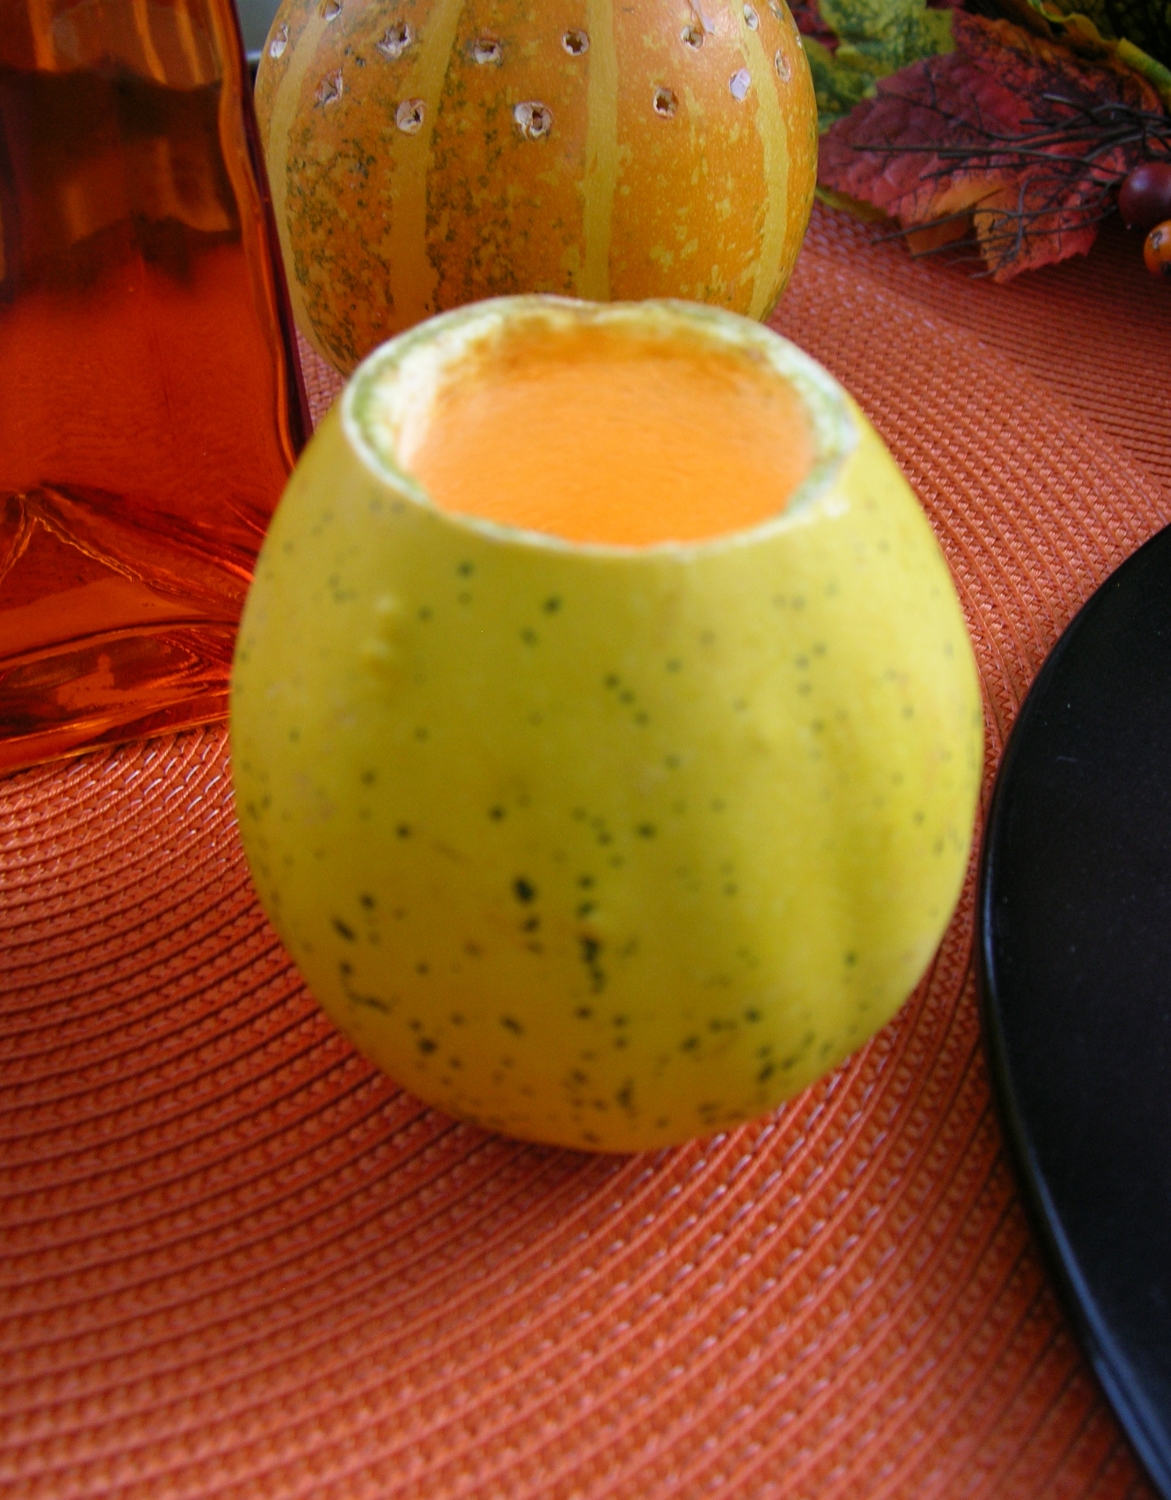
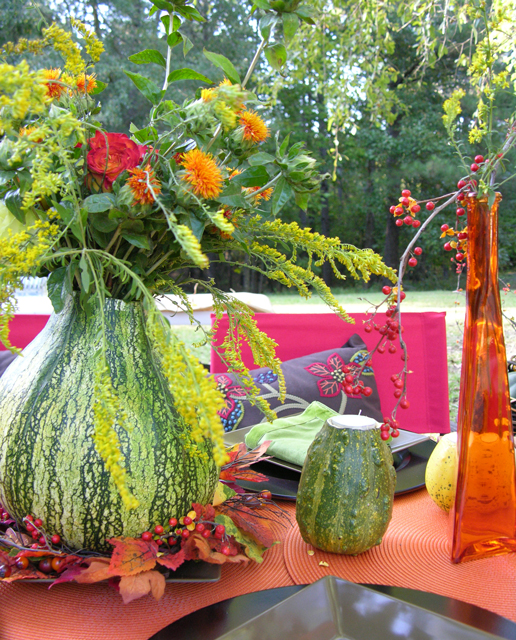
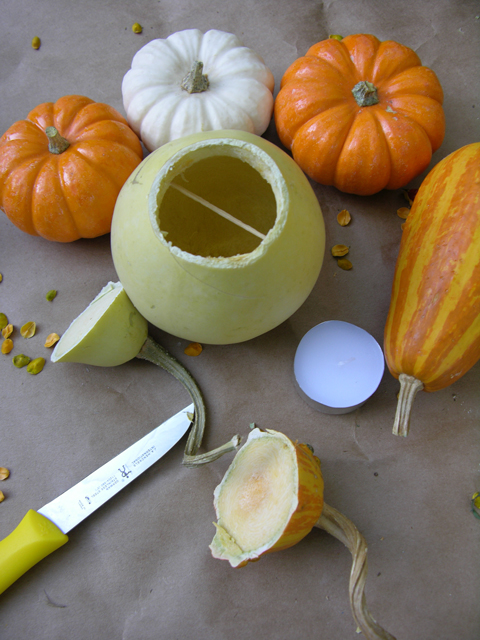
To make the candle holder: Use a paring knife to cut the top off of the gourd then scoop out the inside. You can put the tea light into the bottom of the gourd, which accomplishes two things. It keeps the wind from blowing out the flame and it results in a softer glow. You can also fit the tea light into the top of the gourd. Use a crossed toothpick inside the gourd to keep the candle from falling inside like I did in the picture below.

For flower arrangements: I was lucky enough to find a farmer selling bittersweet. I love bittersweet-- these yellow and orange berrylike branches. They are perfect for centerpieces and look great in the yard as an accent to mums and other fall flowers. These are a mix of flowers from the yard and a few I picked up at the florist.

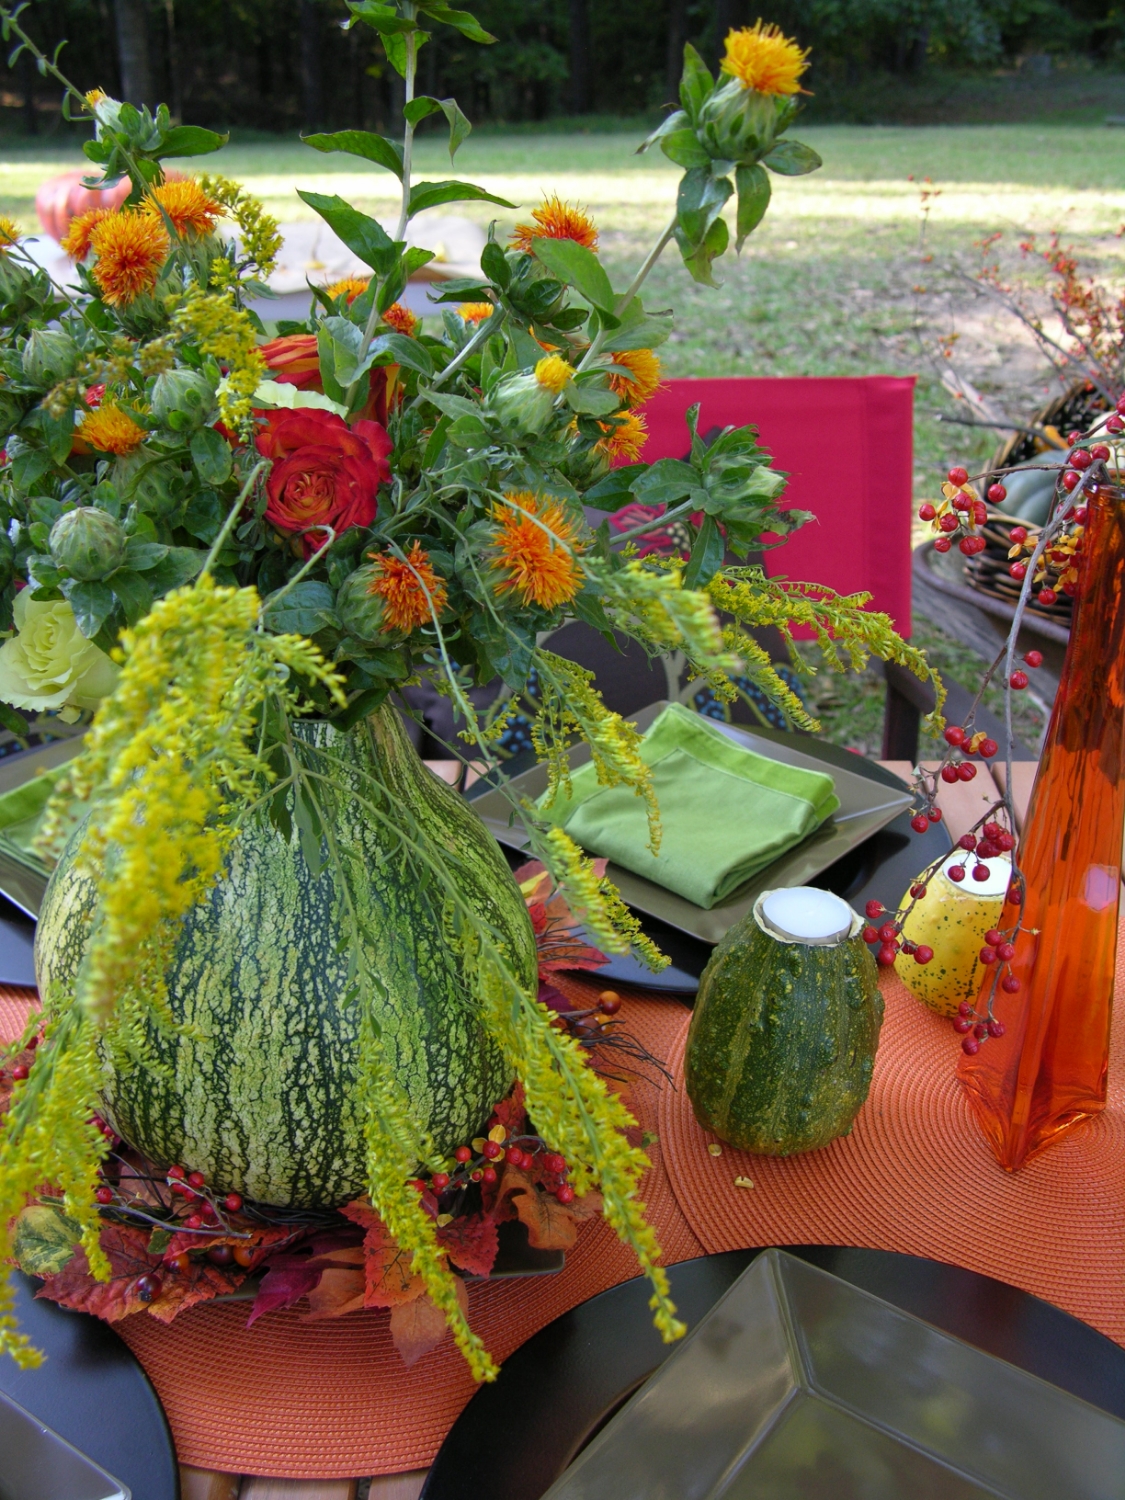
Some gourds may leak so I filled a plastic zip-top bag with cool water, cut the flower stems on an angle and put them inside. Wrap below the sight line with a rubber band to keep it secure and put the arrangement inside the gourd.

You may try using Vaseline petroleum jelly on the outside of the pumpkin or gourd to slow deterioration. Just rub a bit on a cloth and polish the outside of the gourd. You can also do this on the inside of your pumpkin after you hollow it out to retard deterioration.

HOW TO DYE SPECKLED EASTER EGGS

There are all kinds of techniques for dying Easter eggs... and since the creation of Pinterest, it seems Easter eggs are more and more creative each year. I particularly love the natural look of "straight from the hen house" speckled eggs and the technique is very easy to master. Here's the how-to for easy, natural speckled Easter eggs:

How to easily dye speckled Easter eggs. Photo credit: Arden Photography Location: The Sonnet House Leeds, Alabama

How to easily dye speckled Easter eggs. Photo credit: Arden Photography Location: The Sonnet House Leeds, Alabama

SUPPLIES
Newspaper or something to protect the work surface

Hard-boiled eggs or blown out eggs (I made both)

Easter egg dye- there are tons of brands. Pick one or you can use food coloring or veggies to create a natural dye*

2 black tea bags

Plastic cups

Brown craft paint

Old toothbrush

Rubber or plastic gloves

DIRECTIONS:

Create a drying rack of some sort. I used the top of a Styrofoam cooler and some toothpicks for mine. Push in 4 toothpicks and let the eggs rest on top. But you have to rotate them so they don't have a big drip mark on the bottom side.  You can also use a circle of tin foil on newspaper.  You can use straight pins and a foam board also. 

Cover the work surface with newspaper or Kraft paper. Boil 1 cup of water and add tea bags to steep to make a strong, dark tea. While the tea is steeping, boil eggs as you normally would for dying. As they are cooling, mix dye according to package directions.

Natural looking speckled eggs look best colored pale blue, aqua, pale green, soft tan, and even violet or pale pink. (Yes, hens do lay pink eggs, I promise! ) To achieve a natural look for tan eggs, use the tea to dye the eggs. I also used a small amount of the tea to muddy the bright color of the dye to make a more natural look. Feel free to adjust the colors until you get the dye the color you want. You can re-dip them to get a darker color. I will dip then wipe with a paper towel to set a base color. Then re-dip to make a nice, pale shade.

Once you've dyed the eggs, allow them to dry completely. For the speckle effect: dip the toothbrush in a small amount of the brown craft paint and run your finger over the toothbrush, causing the paint to splatter onto the eggs. A random pattern looks good- but keep it very light for best results. Allow to dry and you've got natural looking speckled eggs.

No matter which way you color your eggs, I hope you create lots of fun memories for you and your family. Happy Easter!

Print Friendly and PDF

HOW TO FORCE SPRING BLOOMS INDOORS

In the South, we are fortunate to have fairly mild winter weather. However, sometimes Mother Nature will warm things up enough for our flowering bushes, trees, and shrubs to think it is Spring so they begin to produce young buds that cannot survive a bitter cold snap. Some of these buds will bloom and can be enjoyed indoors if you bring them in prior to the shock of the freezing temperatures. I did that yesterday with some lovely Camellia buds from my yard. I simply cut the stem and then immediately submerged it in warm water. One day later, I have blooms!

Forced blooms are very easy to do and so pretty for an early Spring or Easter arrangement. Look at these images below... looks like Spring is just about to burst out! I should have started these a bit earlier so they would be in full bloom for the party. If you are a day out and your branches have not yet bloomed fully, simply re-cut and submerge them in very warm water. That should help.

You can force blooms from your flowering shrubs like Forsythia or Hawthorne that already have budding branches to help Mother Nature along and bring a bit of early spring to your table. I Here's how:

HOW TO FORCE BLOOMS FROM FLOWERING SHRUB OR TREE BRANCHES

Supply List:

Sharp pruning shears or scissors

A large bucket

Warm water

Household bleach, like Clorox

Cut flower food

STEP 1: Prepare the bucket by filling with extremely warm water. Add 1 teaspoon household bleach and 1 tablespoon cut flower food to the water.

STEP 2: Cut and gather branches from trees, shrubs, or bushes where you can see blooms beginning to form. I always make notes in my garden journal on bloom dates so I know approximately when blooms will happen for different trees and plants. You can also look up anticipated bloom dates for different species online via your state or local agriculture association or flower clubs. Cut 12-18" lengths of branches for a stately and elegant arrangement.

STEP 3: Prepare the branches by making a fresh cut in the stem. The old school way is to crush the base of the stem to allow the plant to absorb water but I find a fresh cut with a very sharp knife or pruning shears will do the trick.

STEP 4: Immediately submerge the cut branch into the prepared water in the bucket.

STEP 5: Place the bucket with the branches in a cool room away from direct sunlight. Depending on how long it takes for the buds to open, you may need to re-cut the stems and change out the water. Once blooms begin to appear, you certainly want to use fresh water and re-cut the stems before making your arrangement. Lightly mist the blooms every other day.