I love to set up interactive stations for easy entertaining. A self-serve DIY bar offers guests lots of options and encourages conversation, too. In my book, that is a win-win. For Easter brunch (or any brunch for that matter) a DIY Deviled Egg Bar is nothing but easy, yummy fun and with a price tag under ten cents per serving, deviled eggs are super affordable.

THE HOW-TO:
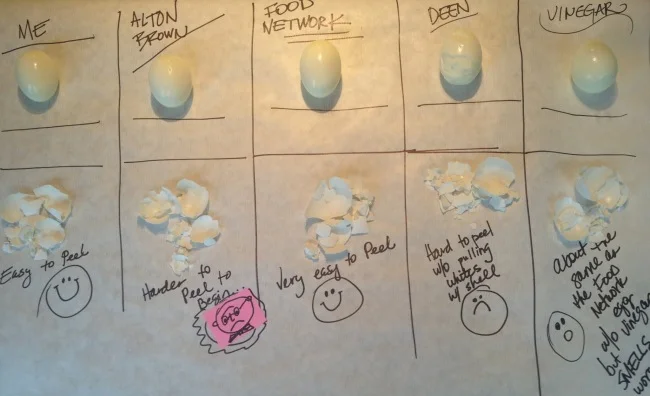
Make your deviled eggs. I'd suggest making a pretty basic recipe since your guests will be adding toppings and piling on lots of flavor. Try my classic deviled egg recipe... and learn all about the best way to hard-boil eggs here.
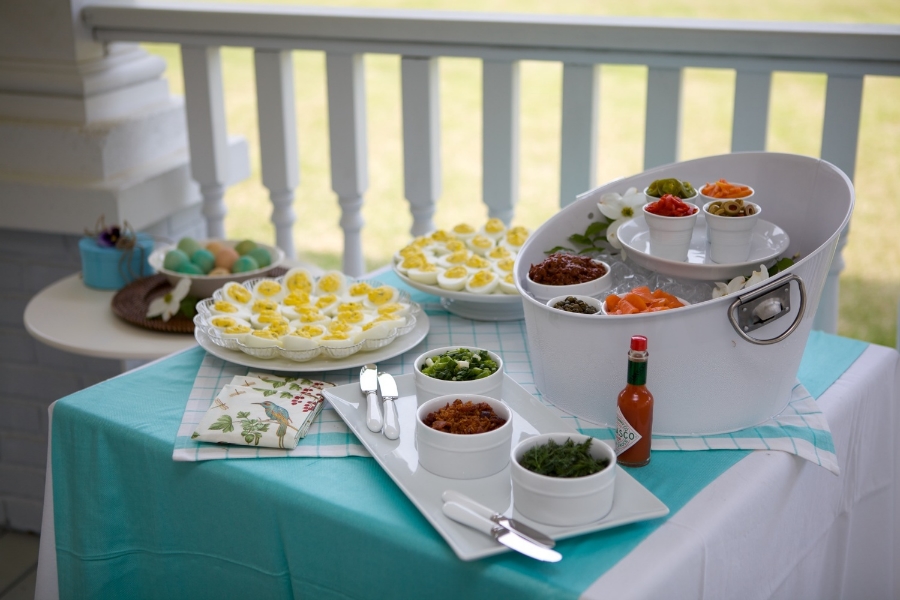
How to build a deviled egg bar with toppings. Photo: Arden Photography Location: The Sonnet House, Leeds, Alabama
Assemble the eggs on a variety of different plates, egg dishes, and platters. Arrange the platters at different heights. Put the toppings in small dishes, jars, or bowls in groups. I like to get a bowl and fill it with ice and arrange bowls filled with toppings that are best kept chilled.
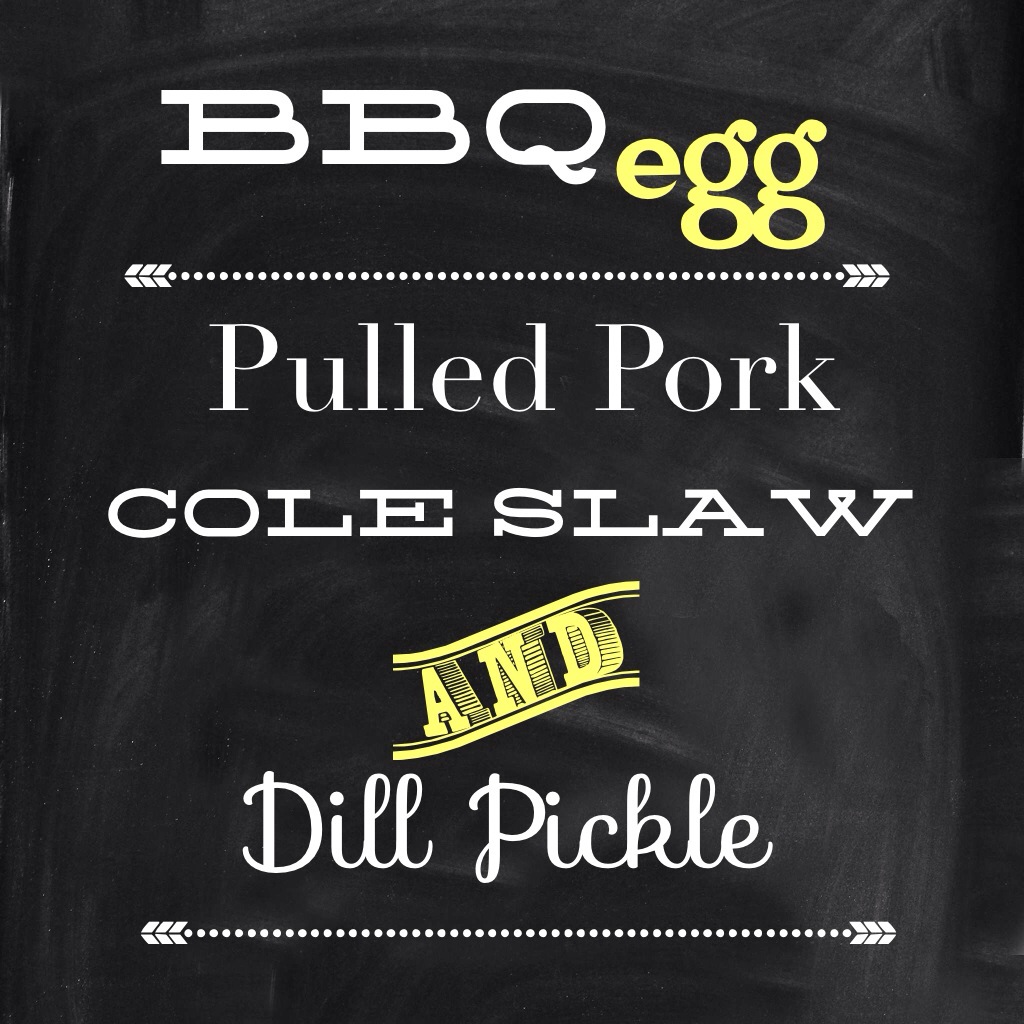
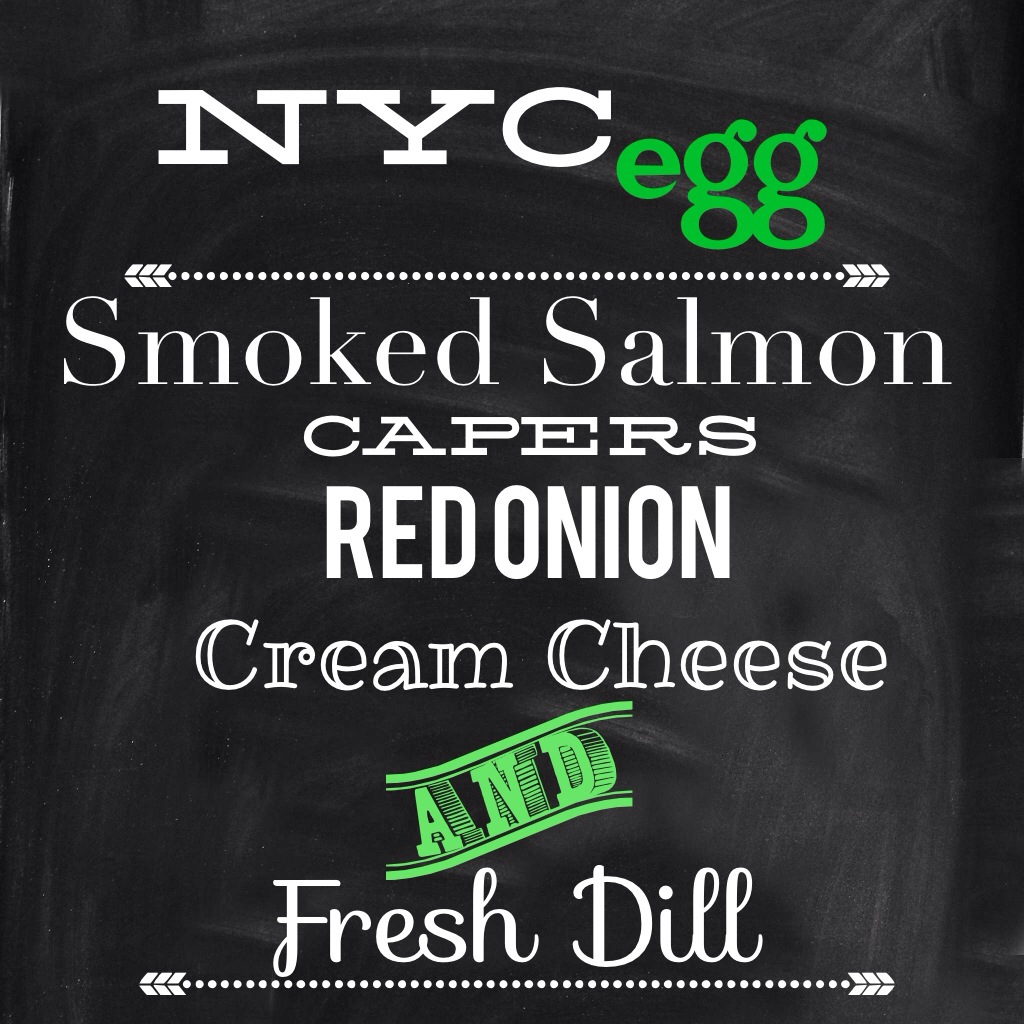
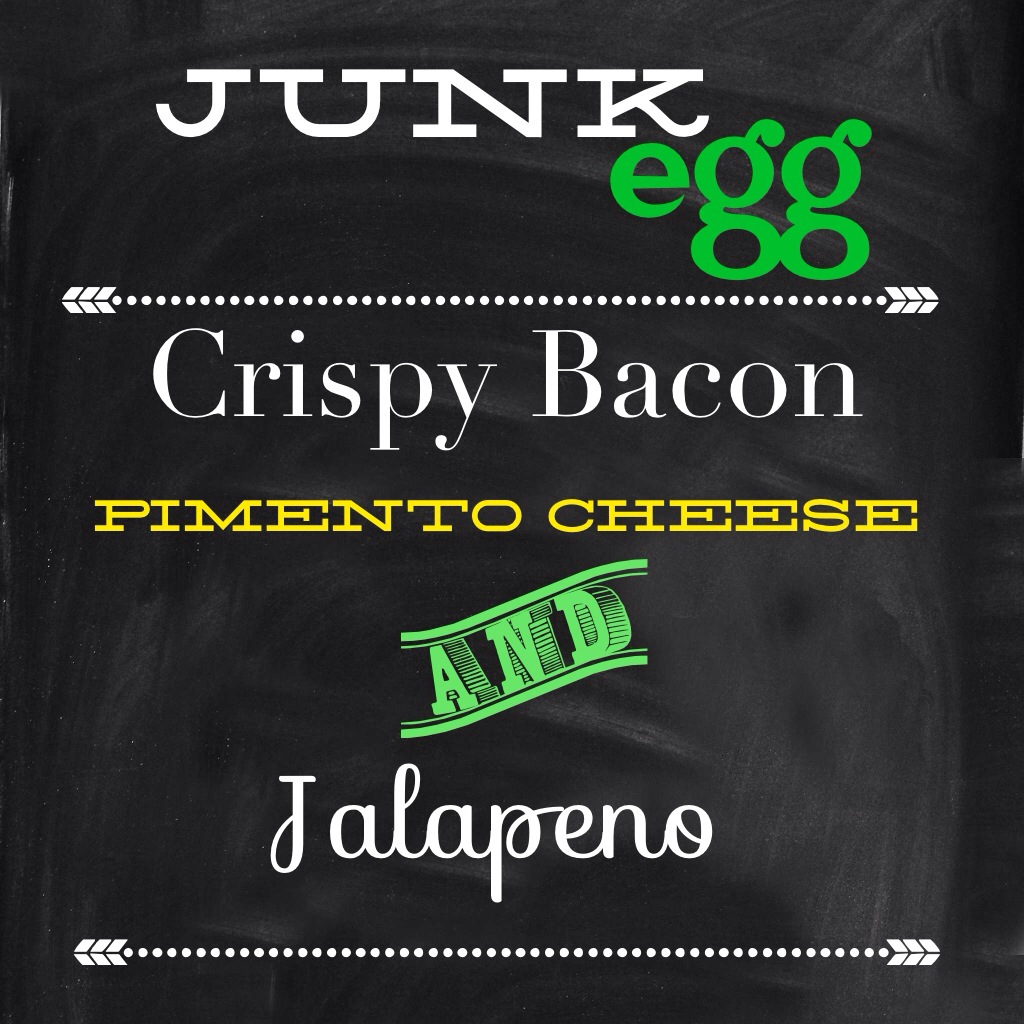
Offer guests a menu of different combinations: BBQ, Asian, etc, to help them craft their eggs.
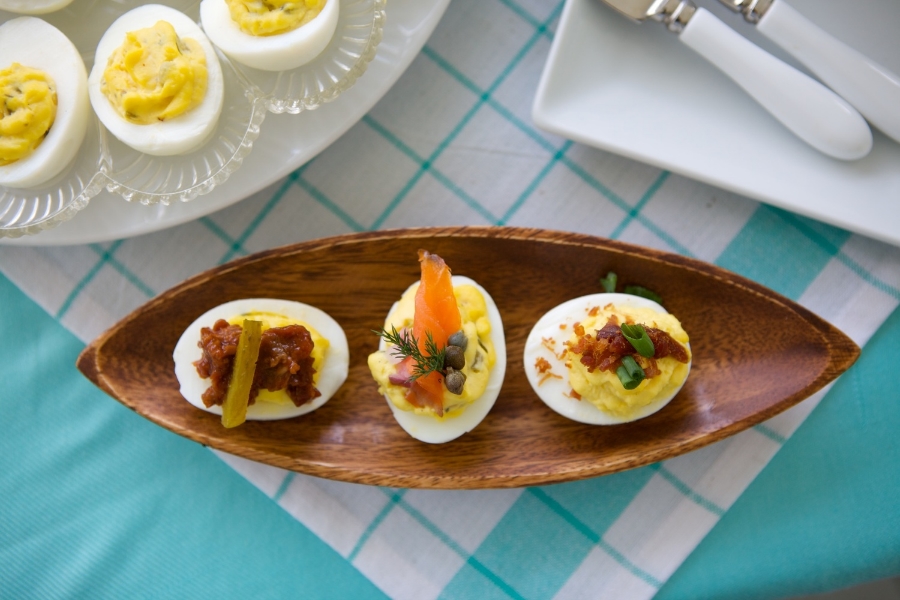
Deviled eggs with assorted toppings. Photo: Arden Photography
SUGGESTED TOPPINGS: Use as many or as few as you like based on your budget and the amount of room you have.
- Herbs: Fresh Dill, Thyme, Tarragon, Chives, Italian parsley, or cilantro; finely chopped
- Scallions, finely chopped
- Capers
- Spicy pickle relish
- Pickled okra slices
- Roasted red peppers, diced
- Jalapeno peppers, diced
- Green olives, sliced
- Toasted pecans, chopped
- Bacon crumbles
- Goat cheese crumbles
- Shredded cheddar cheese
- Fresh horseradish
- Country ham, sliced ultra thin and cut into small pieces
- BBQ (beef or pork, shredded)
- Smoked salmon (thin sliced)
- Fresh lump crabmeat (cooked)
- Cooked baby shrimp
- Caviar (if you have the budget)
- Sour cream, creme fraiche or Greek yogurt
- Fig preserves
- Chutney
- Hot sauce
- BBQ sauce
- Salt
- Pepper
- Paprika