RECIPE: THREE CHEESE GRITS (SO EASY!)

Do you need something quick, easy, and comforting for breakfast or brunch during the holidays? This super fast grits recipe is perfect for Christmas morning or any holiday brunch because it's not only delicious, it's quick to fix and affordable, too.

I call these my 3G Grits; it is the Gouda, Gruyere, and Goat cheeses that take these grits from everyday to gourmet. You can use whatever combo of cheeses you have... it is the perfect way to use the leftover cheese you have hanging around in the fridge.

three cheese grits

THREE CHEESE GRITS

INGREDIENTS

2 cups quick cooking grits or stone-ground grits; cooked to package instructions

2 tablespoons unsalted butter, divided

Kosher salt & fresh cracked pepper to taste

1/4 cup heavy cream

1/2 cup Gouda, coarsely grated

1/2 cup Gruyere, coarsely grated

1/2 cup goat cheese, crumbled

Pinch cayenne pepper (optional)

Smoked paprika (optional, to lightly sprinkle on top)

DIRECTIONS:

Preheat oven to 425 degrees Fahrenheit.

Generously butter a shallow baking dish with 1 tablespoon of the butter. Make grits according to package directions. Stir in butter, heavy cream as the grits are almost done. Add the peppers, and stir in the cheeses, reserving a bit of each for the top. Stir until the cheese is almost completely melted and pour into the buttered dish.

Bake at 425 for 12 minutes or until the top is golden brown. Serve immediately.

Print Friendly and PDF

RECIPE: EASY, FAST, AND ALWAYS PERFECT GRILLED CORN ON THE COB

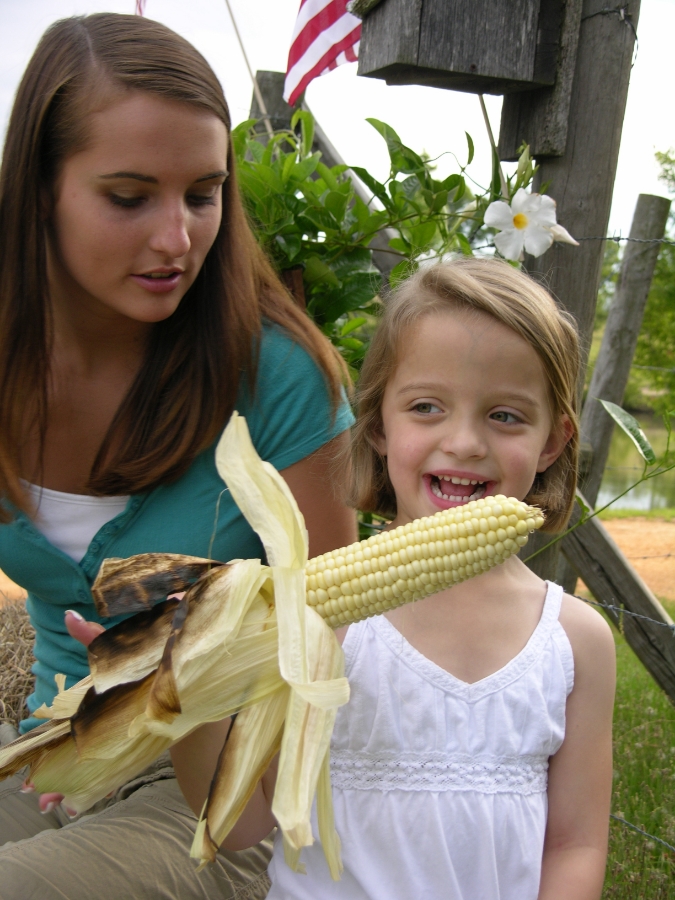
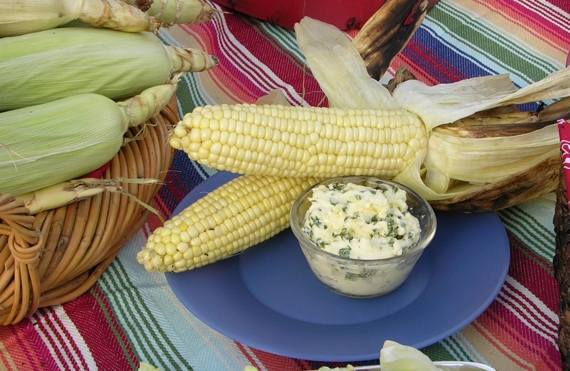
It's just about corn season! To me, nothing says summer more than fresh picked corn and I cannot wait to bite into that first piece of corn from the grill. Some of my friends think it is hard to grill good corn- that it gets dried out, etc. I've got a super easy way to grill corn for a crowd that is perfect every time. Here's how:

MARTIE'S PERFECTLY EASY GRILLED CORN

SUPPLIES

Large tub or bucket

Large Styrofoam ice chest

Grill (charcoal, gas, wood fire or whatever you like)

Long handled tongs

Oven mitt or heat-proof glove

INGREDIENTS

2 dozen ears of fresh corn in the husk (you don't have to remove the inner silks but it does make it easier for your guests if you do) Estimate 2 ears of corn per guest.

Butter

Salt

Pepper

DIRECTIONS:

Check the ears for any evidence of bugs, etc. Snip the silks off of the tip of each ear. I usually don't slice the bottom off so people have something to hold on to... but you can cut them level if you are using plastic corn holders.

Submerge the ears in cool water and let them soak for at least 30 minutes and up to 2 hours.

While the corn is soaking, fire up your grill. You want a medium heat and an indirect heat zone-so move some of your coals to the outer edge of the grill if you are using charcoal. so you can move the corn off direct heat. Make sure the grill rack is not down too low. You want indirect heat so the husks don't burn. A bit of charring is good but if the heat is too high or the grill is too low over the coals, you'll burn up the husks before the corn cooks inside.

Once the coals are ready, drain the water.

Place the corn on the center of the grill- stay away from the outer edge where there could be hot spots.

Cover the grill and leave it alone for 12 minutes. (you may need to adjust the time if you have a larger quantity of corn)

Open and turn the ears to char the other side. Close the grill and let cook for another 5 minutes.

Remove the corn and immediately put it in the Styrofoam ice chest and put the top on it as fast as you can. Put something heavy on top of the chest to keep the lid down tight.

Allow the corn to continue to steam in the chest until serving time- at least 15 minutes. I usually do this an hour or more before the party and it is perfect to serve when guests arrive. The ice chest keeps the corn steaming hot!

To serve: Put the corn in a big bowl and pass family or simply allow guests to serve themselves. Provide tongs and heat-proof mitts. Guests simply peel back the husks and the silks fall off with it. Set up condiments like butter, salt, pepper, lime, queso fresco, cilantro, or spices.

So easy, so fast, and soooo dang good! Have a trash can nearby where they can dispose of the husks and cob.

Print Friendly and PDF

RECIPE: BISCUITS AND CHOCOLATE GRAVY

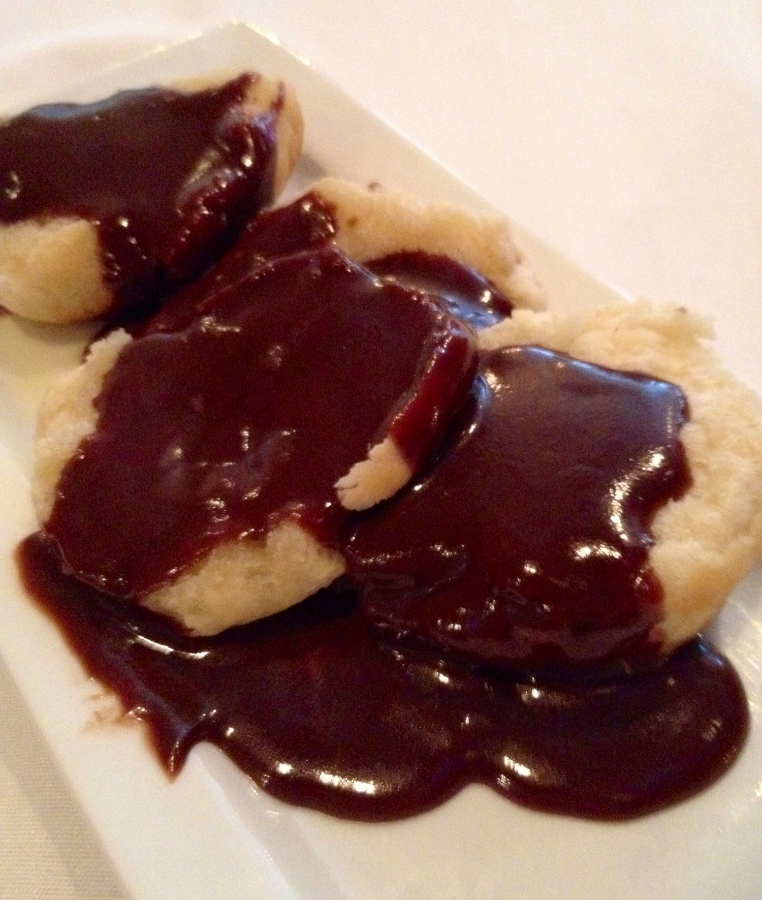
traditional buttermilk biscuits served with chocolate gravy recipe

Traditional buttermilk biscuits with chocolate gravy.... yes. Chocolate. This old-school Southern treat isn’t seen too much anymore. Back in the day, many farm families would make a skillet chocolate sauce or ‘gravy’ and turn their leftover breakfast biscuits into a sweet treat or dessert. 

You can use your own biscuit recipe or even use canned or frozen biscuits if you must. The key is to make sure the biscuits are nice and warm before you spoon over the chocolate gravy. If I'm using leftover biscuits, I warm them in the oven while I'm making the gravy.

TRADITONAL BUTTERMILK BISCUITS 

INGREDIENTS

½ cup cold butter (one stick)

2 cups self-rising flour

¾ cup buttermilk

3 tablespoons butter, melted

DIRECTIONS:

Preheat oven to 450 degrees F.

Cut the butter into the flour using a pastry cutter or fork. Add the buttermilk. Stir just until moistened. Turn out onto a floured work surface. Flour rolling pin. Knead 3-4 times. Roll dough ¾” thick. Cut with a 2” circle biscuit cutter that you flour between each cut. Place on a greased baking sheet. Let them barely touch if you want taller biscuits- they'll have each other to push against to help them rise. Don't let them touch if you like a less 'fluffy' biscuit. Brush with melted butter and bake for 12-14 minutes. 

Makes about a dozen.


CHOCOLATE GRAVY

INGREDIENTS

1 cup sugar

3 tablespoons cocoa powder

2 tablespoons all purpose flour

Pinch kosher salt

1 tablespoon unsalted butter

1 ½ cups whole milk

DIRECTIONS:

Sift the sugar, salt, cocoa powder and flour together. Put butter in a cast iron skillet. Over medium-low heat, add the flour mixture and cook like you would a roux, stirring until it becomes light brown and you've cooked off some of the raw flour taste.

Whisk in the milk, a little at a time, whisking each addition until smooth. Keep whisking until there are no lumps. Turn up the heat to medium heat, stirring continually until it thickens.

I like to add shavings of some really good chocolate when I serve it... I keep scraps just for this purpose.

Print Friendly and PDF